Last week a friend of ours had a little mishap on the Mawddach, which resulted in the boat getting pinned so badly that they were unable to retrieve it. Today the levels had finally dropped off enough for myself, Andy Butler and Daz Clarkson-King to go on a rescue mission. Hopefully the video, photos and explanation of what we did posted below will be interesting and useful to others. Of course there are many ways to skin a cat, this is simply what we did and why…
The first thing we needed to do was find the boat! We’d been given a pretty good description but we needed to see the situation for ourselves to work out what we might need to do, if recovery was even possible.
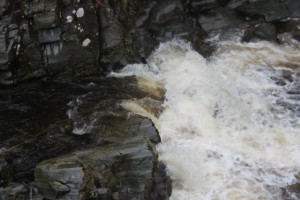
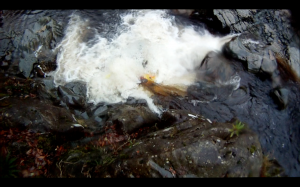
Can you spot the kayak?
For those who know the river, the boat was in the gorge between the base of Rhaeadr Mawddach and the confluence with the Afon Gain. It was wedged underwater closest to the river left bank – the opposite bank to easiest access. The group who lost the boat had obviously tried to unpin the boat themselves, and had left a rope attached to the front grab loop which was closest to the left bank (the line had been tied off out of the way of anyone coming down the river).
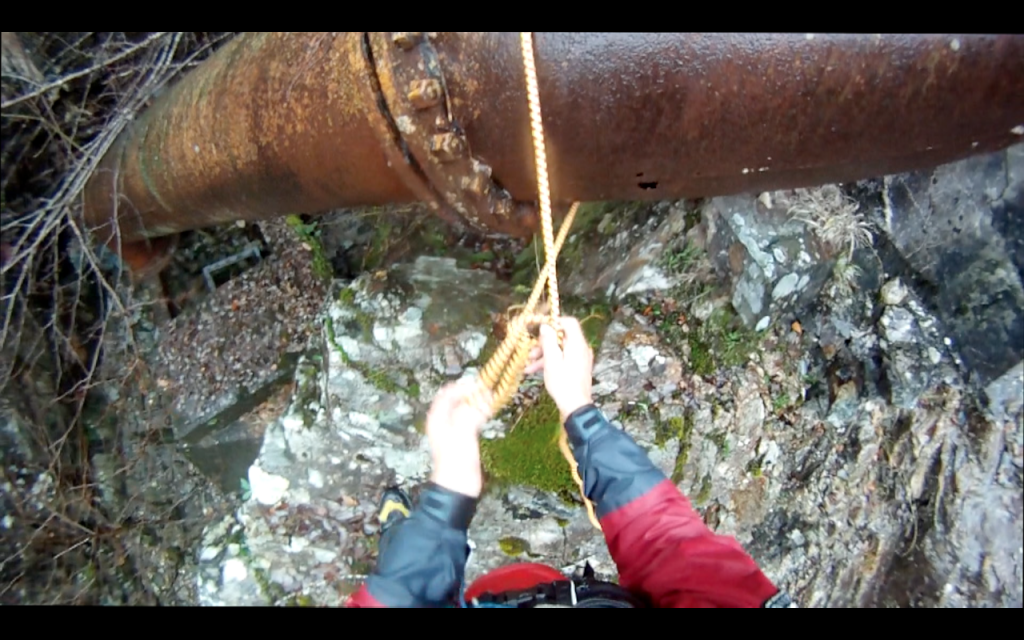
The boat had wrapped around the rock so we needed to pull diagonally upstream to create a peel and pull effect; which meant the rope was already attached to the optimum point in terms of leverage. We identified a suitable anchor which would create the angle of pull we required. We made sure it was strong enough to take the kind of force we were going to be putting through our system. Unusually, in this instance our anchor was a giant pipe!

The big anchor pipe
Our plan was to anchor the line, then set up a piggyback system to provide mechanical advantage. We chose a piggyback system (rather than a 3-to-1 using the line already attached) because it means the boat won’t float off anywhere once it’s freed, even if your pulling team let go and it allows you to take in the slack, preventing the boat slipping back and losing any progress you make.

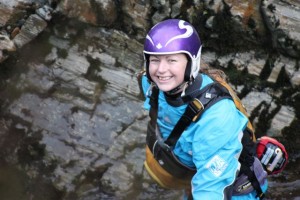
Andy heading across to get the line
The pipe was quite a way from the boat so we’d need some extra length on the line, plus we needed an anchor. We used one throwline as both the anchor and to provide the additional length required to reach the line currently attached to the boat (from here on in referred to as the ‘main line’).

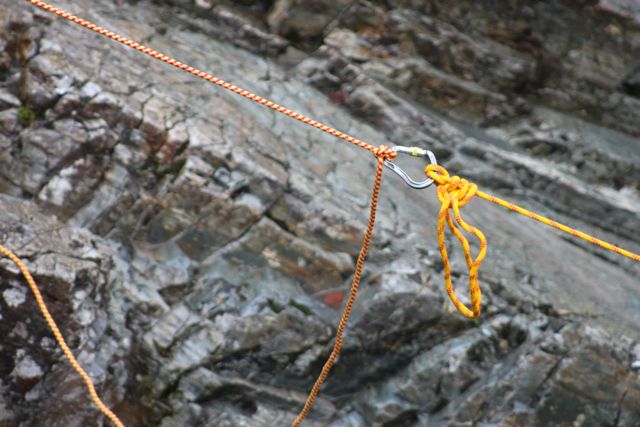
We used a bowline to tie the line around the pipe creating the anchor and then a clove hitch onto a carabina at the length which allowed us to then attach the main line to the same carabina using an italian hitch. This set-up allowed us to adjust the position of the carabina so that whoever was managing the italian hitch was stood in a safe place. The italian hitch allows you to take in slack and lock-off as and when you need to. When locked off we tied a couple of half hitches to secure it, both the italian hitch and the lock-off hitches are shown here.
Once we had the main line secured, it was time to set up the piggyback system. Firstly we needed another anchor. There was a partition preventing us from putting the second anchor right next to the first, so we didn’t have an ideal angle – but at least the anchors were independent in case of failure. This time we used an open sling tied with a tape knot (aka water knot) to create the anchor.
We then put a 3-wrap prusik hitch on the main line, as far towards the boat as we could. After taking the bag off a good, strong throwline we made a loop by tying a figure-of-8 on a bight and clipped it to the prusik with a locking carabina. The piggyback line was then taken to a locking carabina on the sling anchor point and back through the carabina on the prusik, thus creating a 3-to-1 mechanical advantage (aka Z-drag).
We were now all set, time to start pulling! We had two hauling on the piggyback 3-to-1, while one took in any slack on the main line using the italian hitch.
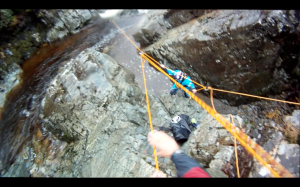
1,2,3 PULL
1,2,3 PULL
1,2,3 PULL
***SNAP!***
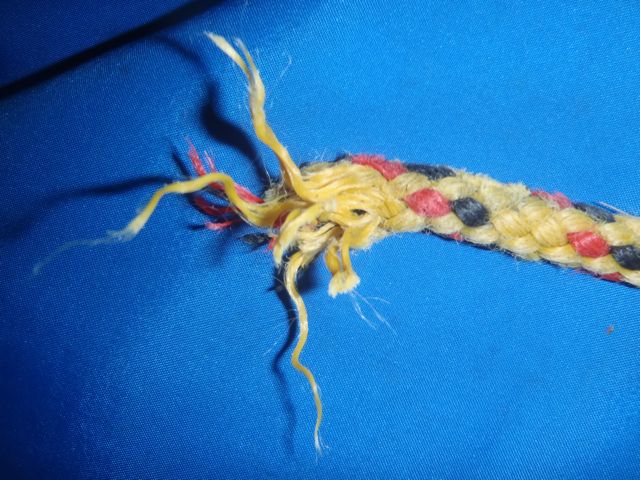
The line that had been left on the boat snapped, presumably weakened by 6 days wiggling about in wind and water.
So we set about clipping another line to the boat, making sure it was a good condition rope with high breaking point! Once we’d got it clipped and back across to river right, we set up the same system with our new ‘main line’. Time for more pulling…
1,2,3 PULL
1,2,3 PULL
1,2,3 PULL
Hmm, we’re not getting anywhere!
We clearly we needed to change our angle of attack… onwards and upwards! We moved our set-up to a sturdy tree at the top of the river right gorge-side with the intention of rotating the boat by pulling the front end up.
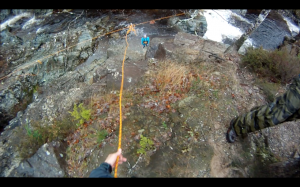
Try again…
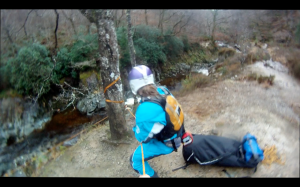
1,2,3 PULL
1,2,3 PULL
1,2,3 PULL
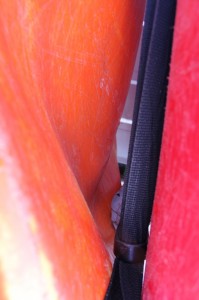
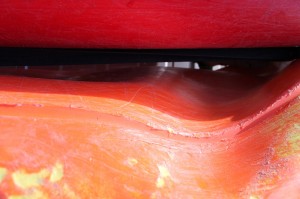
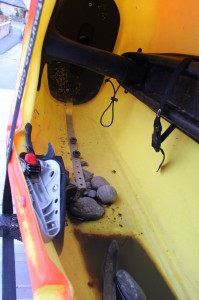
Success! The boat came free of the rock but was still pretty much submerged. The boat was being really awkward and floating vertically with only about 20cm of bow out of the water. Turned out the whole back-end was full of rocks!! And this time I don’t think it was Tom Parker playing pranks.

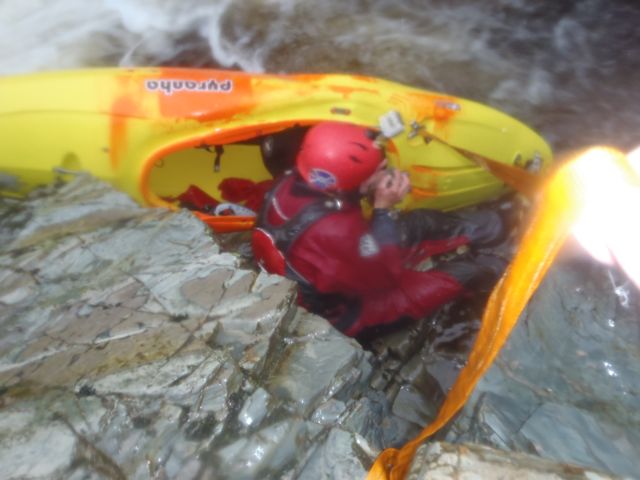
Emptying out the rocks. This took a while!
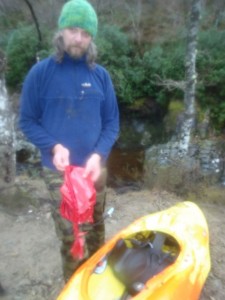
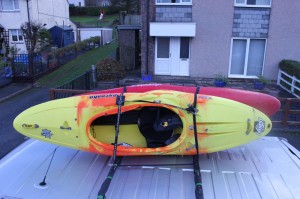
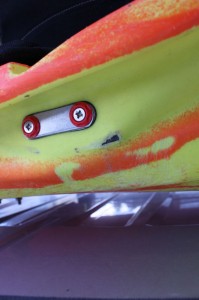
Daz shows the tattered remains of an airbag next to the warped boat
Feeling proud of ourselves, we hiked back to the car dragging our prize. Time for tea and medals!
If you want to learn more about setting up these sort of systems, check out our Safety & Rescue course dates.
